by Tim "Tooth Protector" Warner (timandsusan2002 at earthlink dot net)
This tutorial will get you up and running very quickly playing Atari 2600 games on your Microsoft Windows-based computer by using the awesome z26 emulator (developed by John Saeger and Eckhard Stolberg) and the useful x26 Windows front-end application (developed by Jon Morgan). By the time you finish reading this tutorial you will have an intimate understanding how to relive your classic Atari 2600 gaming moments through the beauty and virtue of console video game emulation.
To play Atari 2600 games on your PC by using z26 and x26 you'll need the following files:
Visit the following Web site to download the latest version of z26:
http://www.whimsey.com/z26/z26.html
Visit this Web site to download the latest version of x26:
http://www.wintersolace.com/programs/x26/index2.html?/programs/x26/index.html
You can find most Atari 2600 game ROMs by querying the AtariAge games database. However, some Atari 2600 games that are still being sold today, such as the Activision library, are not available at AtariAge. For these game ROMs, I would recommend that you use Google, Usenet, IRC, or the peer-to-peer file-sharing networks to find what you are looking for.
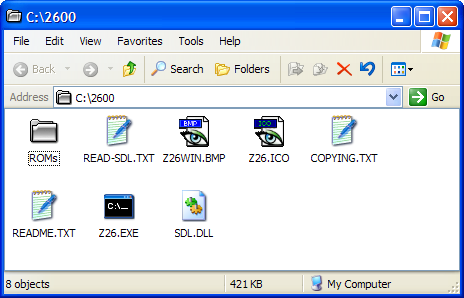
After you have downloaded all the required files, your first step is to use WinZip or some other ZIP file-management utility to unpack all of your files. Begin by creating a folder on your hard drive (in this tutorial the folder will be called 2600) and unpacking the z26 emulator files into it. While you are at it, you should also create a folder named ROMs to store your game Atari 2600 ROM files. After the file extraction your 2600 folder should look something like the following:
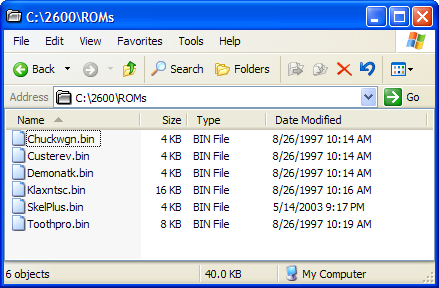
The following screen shot shows the \2600\ROMs folder populated with some Atari 2600 game ROMs.
Normally to use an emulator you also need the appropriate Basic Input/Output System (BIOS) ROM image that is associated with the particular console video game system you are using. This is not the case with the z26 emulator; all you need is the z26 emulator, its support files, and your game ROMs.
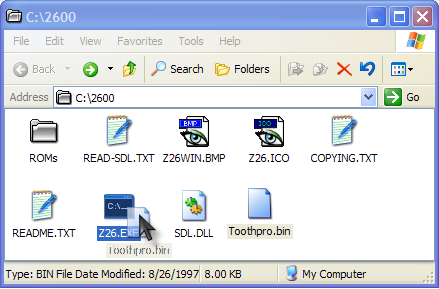
Frankly, if you are going to use z26 without a front-end application, then it probably makes the most sense to keep your game ROMs in the same folder as the emulator. The reason I say this is that one simple way to start a game with z26 is to drag a ROM file icon on top of the Z26.EXE executable program file. The game will start in full-screen mode; press ALT+ENTER to switch to a windowed view.
However, the problem with the drag-n-drop approach is that you cannot pass any parameters, or configuration switches, to the Z26.EXE program file. From Windows 2000 or Windows XP, click Start => Run to open the Run dialog box, type cmd in the Open text box and then click OK to open a command prompt session. Next, use the cd command to navigate to the 2600 folder.
The z26 command syntax is z26.exe romname, where romname is the name of the game ROM to be launched. Note that you can leave out file extensions; therefore, the command strings z26.exe skelplus and z26 skelplus.bin are equivalent. Interestingly, as long as your ROMs exist in a subfolder of your z26 folder, you don't need to qualify the ROM file's path.

Now things get interesting when we use switches to customize the behavior of the z26 emulator. This is actually what a Windows front-end application such as x26 does; it simply allows GUI-based mouse and keyboard input by the user and passes pre-configured command strings to the underlying emulator for processing. At any rate, your best source for mastering the command-line parameters supported by z26 is to peruse the README.TXT file that is a part of the z26 build folder. This README.TXT file is actually a very comprehensive and well-written document; I would highly suggest you spend time reading it.
Now let's turn our attention to installing and configuring the x26 front-end application. You've already downloaded the X26.EXE Installshield installation package? Good. Let's go ahead and double-click this file to kick off the x26 installation process.
The first screen in the installation wizard is just an introduction. Click Next.
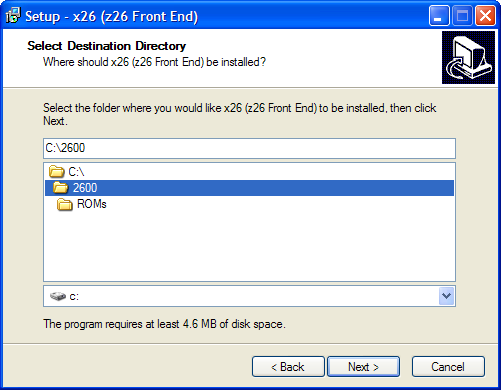
In the second screen of the installation wizard, select the installation folder. For simplicity's sake I would recommend that you install x26 into the same folder in which you installed z26. Click Next to continue.
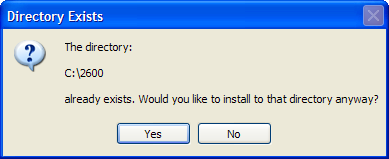
If you decide to install x26 into the z26 directory, you will see the preceding dialog box. Click Yes to continue.
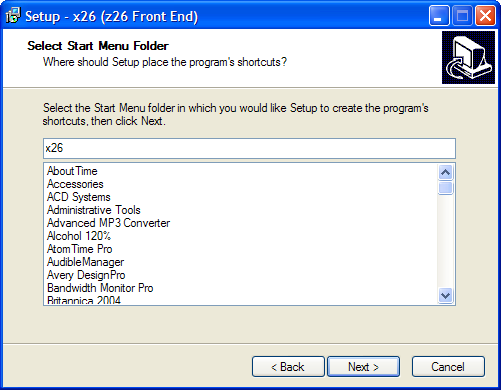
The next step is to name the Start menu folder name for x26. Edit this name as desired and then click Next.
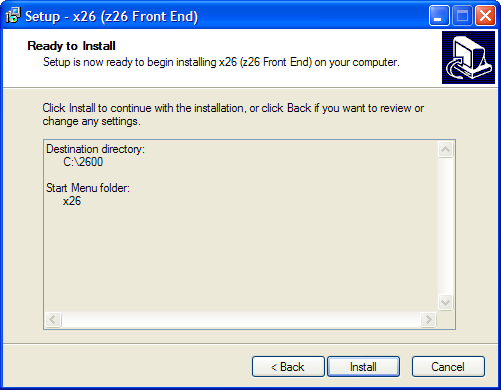
This is a summary screen. Click Install.
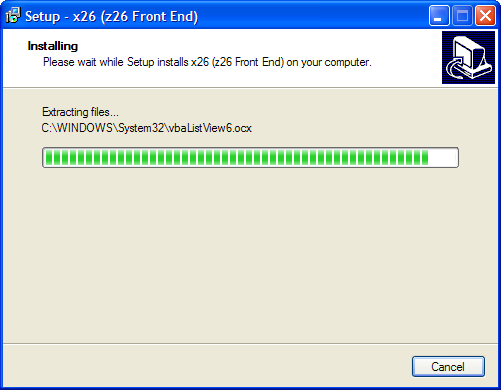
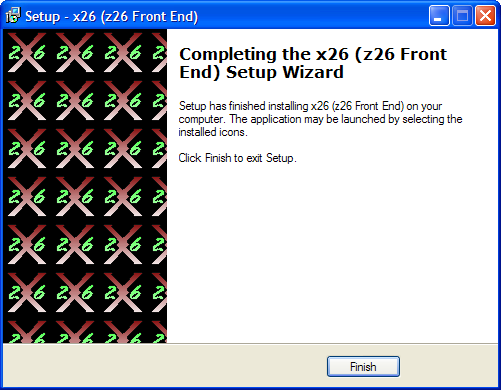
Finished! Click Finish to..er...finish. :)
You should see a desktop icon for x26. Double-click the icon to start x26.

You'll probably see the following dialog box if this is your first time starting x26:

Here is the deal: you'll need to open your 2600 folder alongside the x26 Settings dialog box and drag-n-drop the ROMs folder into the Settings window. You'll then see the path to the z26 ROMs folder listed, along with a count of the number of ROM files found inside that folder.
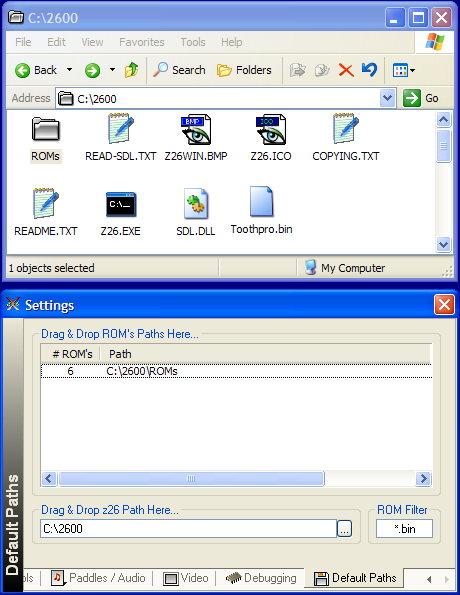
Now if you installed x26 into the z26 folder, then the path listed in the Drag & Drop z26 Path Here text box should be correct. If it is not, then you can either type the correct path to the Z26.EXE file or you can use the Browse ![]() button and locate the file manually. Change the ROM Filter value to *.a26 if you are using .A26 ROM files instead of .BIN ROM files.
button and locate the file manually. Change the ROM Filter value to *.a26 if you are using .A26 ROM files instead of .BIN ROM files.
Next, click the Debugging tab in the Settings dialog box.
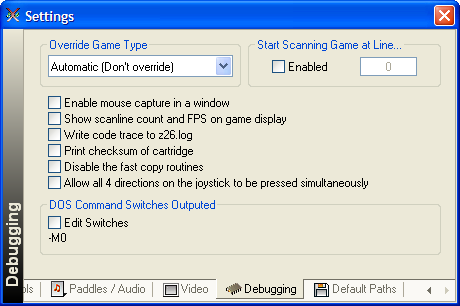
The option I find most useful on the Debugging tab is Enable mouse capture in a window. If you don't want your mouse pointer "stuck" in the z26 window when you play games in windowed mode, then you will want to deselect this option. Next, click the Video tab.
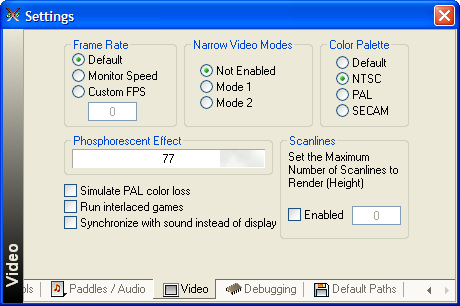
On the Video tab you can, among other things, specify color palette, video mode, and frame rate settings. Click Paddles/Audio next.
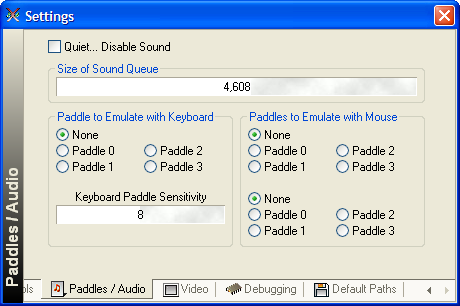
On the Paddles/Audio tab you can select the Quiet...Disable Sound option to mute the z26 emulator. You can also configure Atari paddle control emulation here. Next, click the Controls tab.
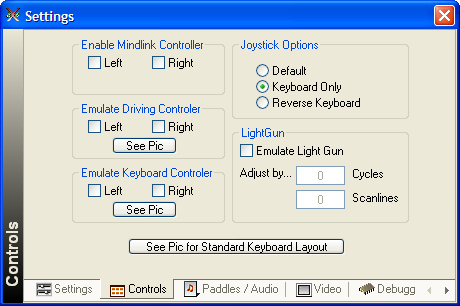
On the Controls tab you can tweak controller options. The See Pic buttons are pretty handy; they show graphic images showing the default keyboard layouts for various controller types. In particular, you definitely want to click See Pic for Standard Keyboard Layout to become familiar with the default joystick controls in z26. Finally, click the Settings tab.
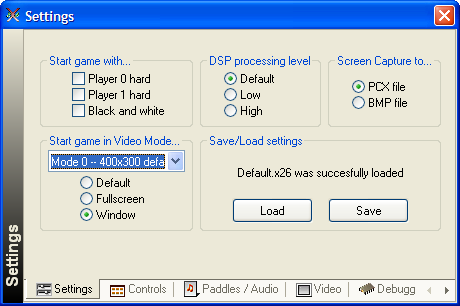
The Settings tab contains video mode controls, processing level settings, screen capture image file format options, game difficulty options, and settings load/save controls. Speaking of which, let's save our settings before we continue. Press the Save button.
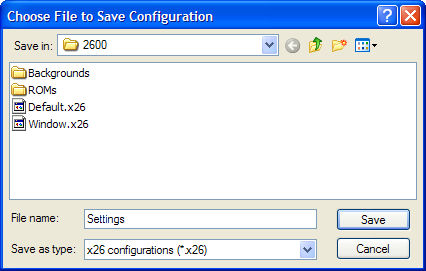
In the Choose File to Save Configuration dialog box, use the Save in drop-down list box to navigate to where you want to save your settings file. In the File name text box, type the desired name of the file and then click Save. The x26 settings file has the file extension .x26.
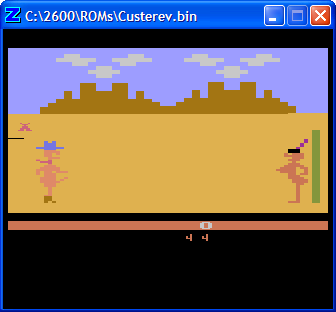
We are now ready to start playing some games.
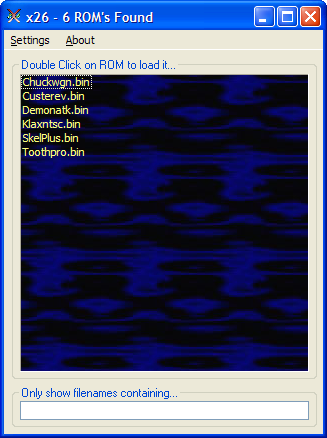
Once you have configured all of your settings, close the x26 application and reopen it to refresh your settings. If all goes well, you'll see the x26 dialog box loaded with a list of detected Atari 2600 game ROMs.
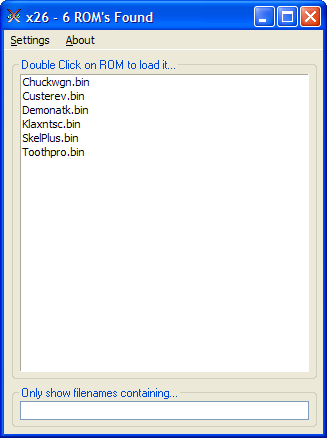
To launch a game ROM, simply double-click the appropriate item in the Double Click on ROM to load it list box.
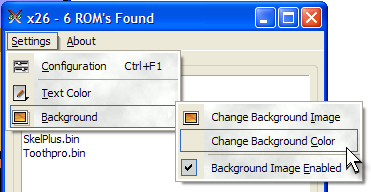
The Settings menu in x26 contains some cool options.
To access the Settings dialog box again, choose Configuration from the Settings menu. To change the text color of the ROMs list, choose Text Color.
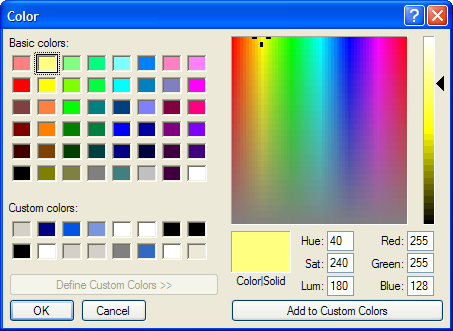
In the Color dialog box, select the desired text color from the palette and then click OK.
To set a background image, click Settings => Background => Change Background Image.
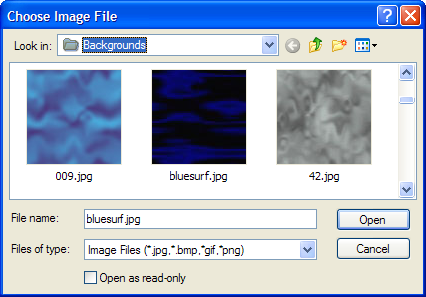
The Backgrounds subfolder of your x26 installation folder contains a whole bunch of .JPG image files that can be used as backgrounds. Make your choice and then click Open to apply your selection. Oh yeah--you'll need to make sure that the Background Image Enabled option is selected in the Settings => Background submenu in order to display the background image.
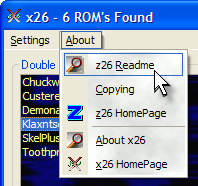
It's kinda cool to be able to customize. The About menu contains some useful options, including links to the z26 README.TXT file and the z26 Web site.
Well, that's about all there is to it. I hope you learned a lot reading this tutorial. Happy gaming!